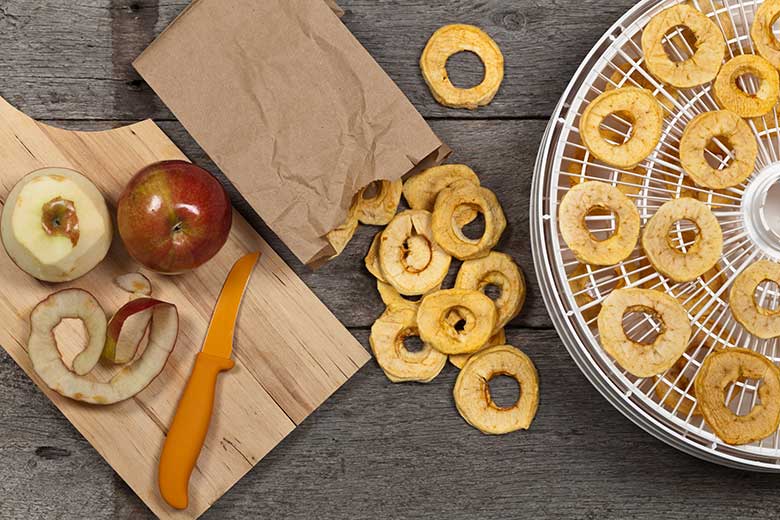
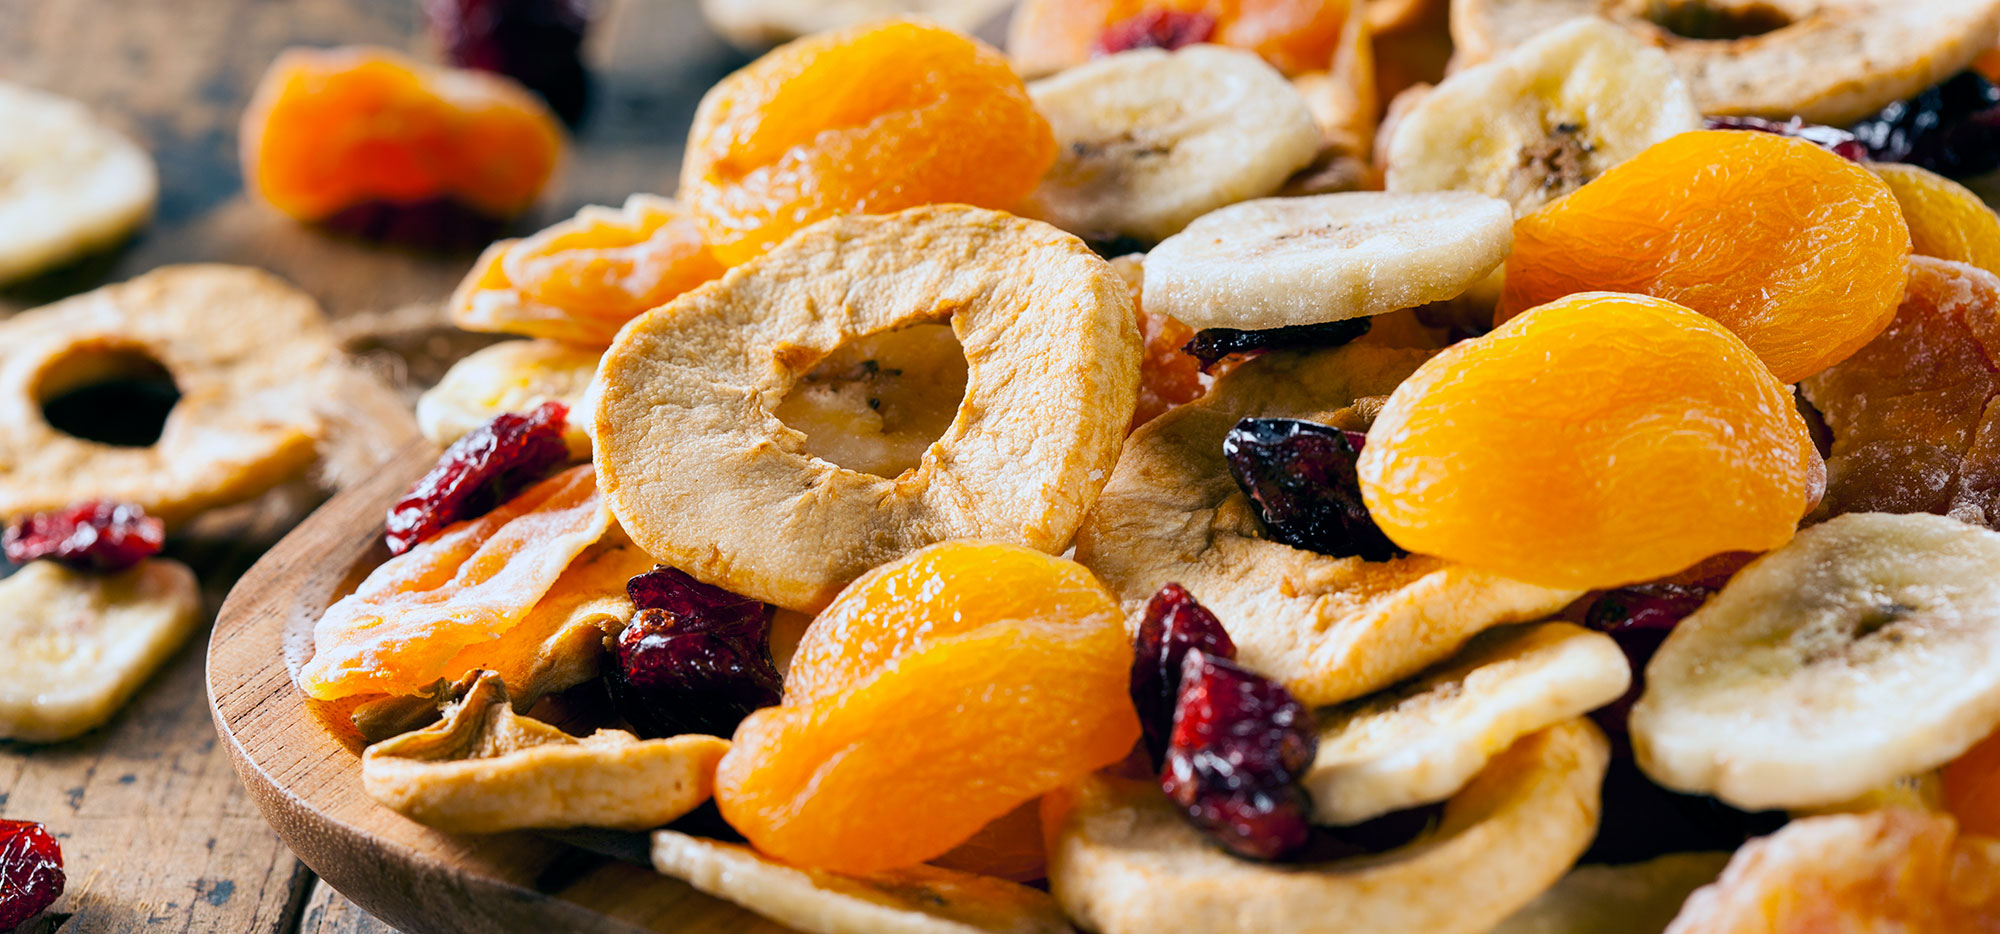
Dehydrated fruits and vegetables are a nutritious snack and a great way to enjoy seasonal produce all year round. Even better – you can make them at home using your oven (or a dehydrator) and any extra ripe produce you have on hand.
Drying produce requires a bit of know-how, but it boils down to three steps:
- Prepare the produce (peel, remove stems and seeds, slice and season)
- Dry
- Cure
- Choosing Produce to Dry
- Drying By the Season
- Preparing the Produce
- Drying
- Oven Method
- Dehydrator Method
- Curing
Choosing Produce to Dry
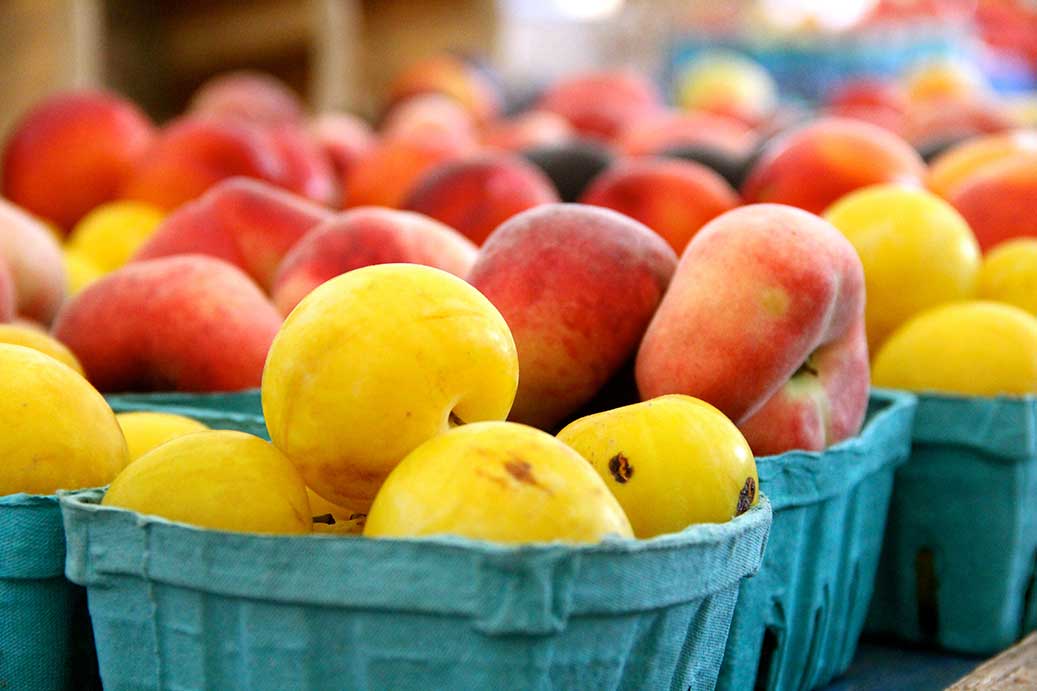
Dehydrating is a great way to use up fruits and veggies that are at their ripest, or even a little too ripe.
- Choose produce that is ripe or just overly ripe.
- If produce shows any visible blemishes, cut them off. They are still completely safe to dry.
- When fruit is still on the tree (e.g. apricots, peaches, cherries), a large amount of rain can cause them to split and therefore go bad quickly. These are perfect candidates for drying!

Drying By The Season
Process produce as soon as possible after harvest to help maintain nutrients.
| Month | Best Produce for Drying |
| March | apples, kiwi, peppers |
| April | peppers, tomatoes, apples |
| May | peas, peppers, tomatoes, apples |
| June | broccoli, carrots, cauliflower, peas, peppers, tomatoes, strawberries, cherries, blueberries, zucchini, tomatoes |
| July | apricots, beans, blackberries, broccoli, cherries, corn, currants, nectarines, peppers, raspberries, zucchini |
| August | apricots, blueberries, cherries, corn, garlic, melon, nectarines, peaches, pears, plums, strawberries |
| September | apples, beans, broccoli, corn, cranberries, grapes, pears, plums, pumpkin, zucchini |
| October | apples, carrots, cranberries, kiwi, pears, peppers, quince |
Preparing the Produce
- Wash all produce in cold water
- Remove any pits or stones. Small seeds (like apples) are okay, but larger ones will cause uneven drying.
- Remove stems from berries
- Optional: Remove the skins. Some fruits with thick skins, like peaches, dry more evenly with the skins removed.
- To remove skins, cut a large X in the bottom of each piece of fruit and plunge in boiling water for 30 seconds. Immediately transfer to a bowl of ice water. When cool, the skins will peel right off.
- Cut produce into equal sized slices so that they dry evenly. Slices should be 1/8″ to 1/4″ thick.
- To speed up drying time and help maintain colour, blanche hearty vegetables like broccoli, cauliflower, carrots, corn, peas and potatoes in boiling water for 2-3 minutes (depending on the size) and then transfer to ice water to cool.
- To minimize discolouration soak fruits prone to oxidation in water and lemon for 10 minutes (use 1/4 cup of lemon juice for 4 cups of water). Remove from the soaking liquid and pat dry.
- Optional: Toss with salt, sugar, or spices

Drying
You don't need any fancy equipment to dry fruits and vegetables – your oven will do. If you dry foods often, consider investing in a dehydrator.
- Drying times can vary dramatically based on thickness of slices, amount of water in the produce, temperature, humidity and altitude. The first few times you do it, watch carefully.
- Over-drying is OK, it just means the produce will be “crispy” instead of “chewy”. Under-drying means there is still moisture left which will leading to spoiling
Oven Method
- Turn the oven on to its lowest setting (130-160°F). If you have the ability to control the range at that low a temperature, use the coolest setting for thin slices like apples and peaches. Berries and tomatoes can handle slightly warmer temperatures (160°F).
- If your oven’s lowest temperature is 200°F, don’t worry – you can still dry produce. This higher temp means there is a greater risk of cooking the produce instead of dehydrating it, so make sure there is good air flow through the oven.
- Prop the oven door open with a large wooden spoon to allow air to ciruclate. If you want to speed things up even more, point a small fan towards the crack in the oven door to help push out moisture.
- Line baking sheets with either silicone mats or parchment paper. Arrange the fruit in a single layer; the closer together the pieces are, the longer they will take to dry.
- Pro tip: Reduce the drying time by putting a cooling rack on top of the sheet pans and laying the fruit on that, instead of directly on the pan. This can cut a couple of hours from the total drying time.
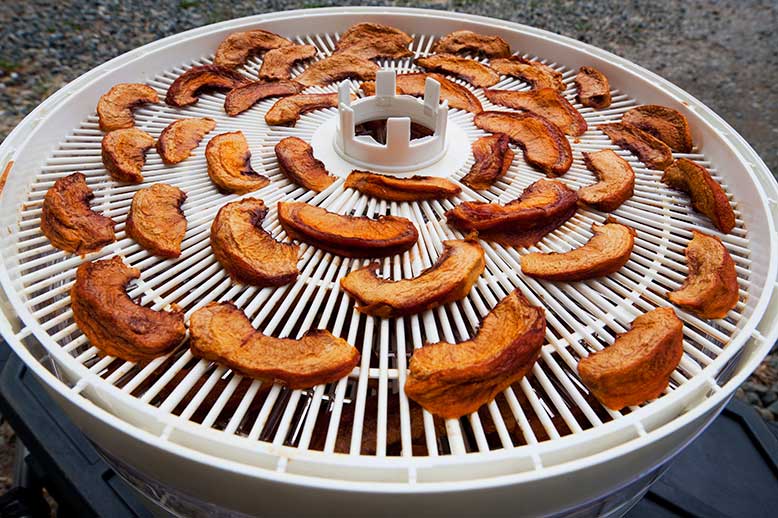
- Rotate the pans front-to-back and top-to-bottom every two hours. Drying is complete when the pieces feel like leather.
- Pro tip: If your oven doesn’t have even heat or your slices are a bit thick, flip the fruit over half way through the drying process to encourage even drying.
Typical drying times as follows:
| Plums | 6 hours | Grapes | 8-10 hours |
| Pears | 6 hours | Citrus Peel | 8-10 hours |
| Peaches | 6 hours | Cherries | 12 hours |
| Bananas | 6 hours | Strawberries | 12 hours |
| Apples | 6 hours | Apricots | 12 hours |
Dehydrator Method
- Set the dehydrator to 140°F (often labelled as the “fruit” setting).
- Spread the slices of produce out in a single layer on the dehydrator racks.
- The exact amount of time will vary depending on how thick the slices are and how wet the fruit/vegetables are to start with. Check after the first 12 hours and then every 6 hours after that.
- To check doneness, remove a piece and allow it to cool completely. When cool, it should feel dry and leathery

Curing
The final step, curing, ensures that there is no moisture left in the dried produce before you store it, which helps avoid spoilage.
- Allow fruit and vegetables to cool completely, then place in an open container on the counter for 4-5 days so that any remaining moisture can evaporate. Shake the container every day.
- The cured produce will keep in a sealed container for about 10 months.

